Crispy
very active
Madrigal music is playing - Voices can faintly be heard, "Please leave this patient undisturbed."
Posts: 779 
|
Post by Crispy on Jun 14, 2016 7:42:01 GMT
The time has arrived for me to build myself a Kameleon 2 portable amplifier with the expert help of Frans and I am sure Javier will add his expertise as well  You will need to wish me luck - the picture below shows about 80% of the components and I have never worked with or soldered SMD components before, but I was gob smacked at how small these are - smaller than a midge's willie  and I am going to have to borrow the Hubble telescope just to see them. 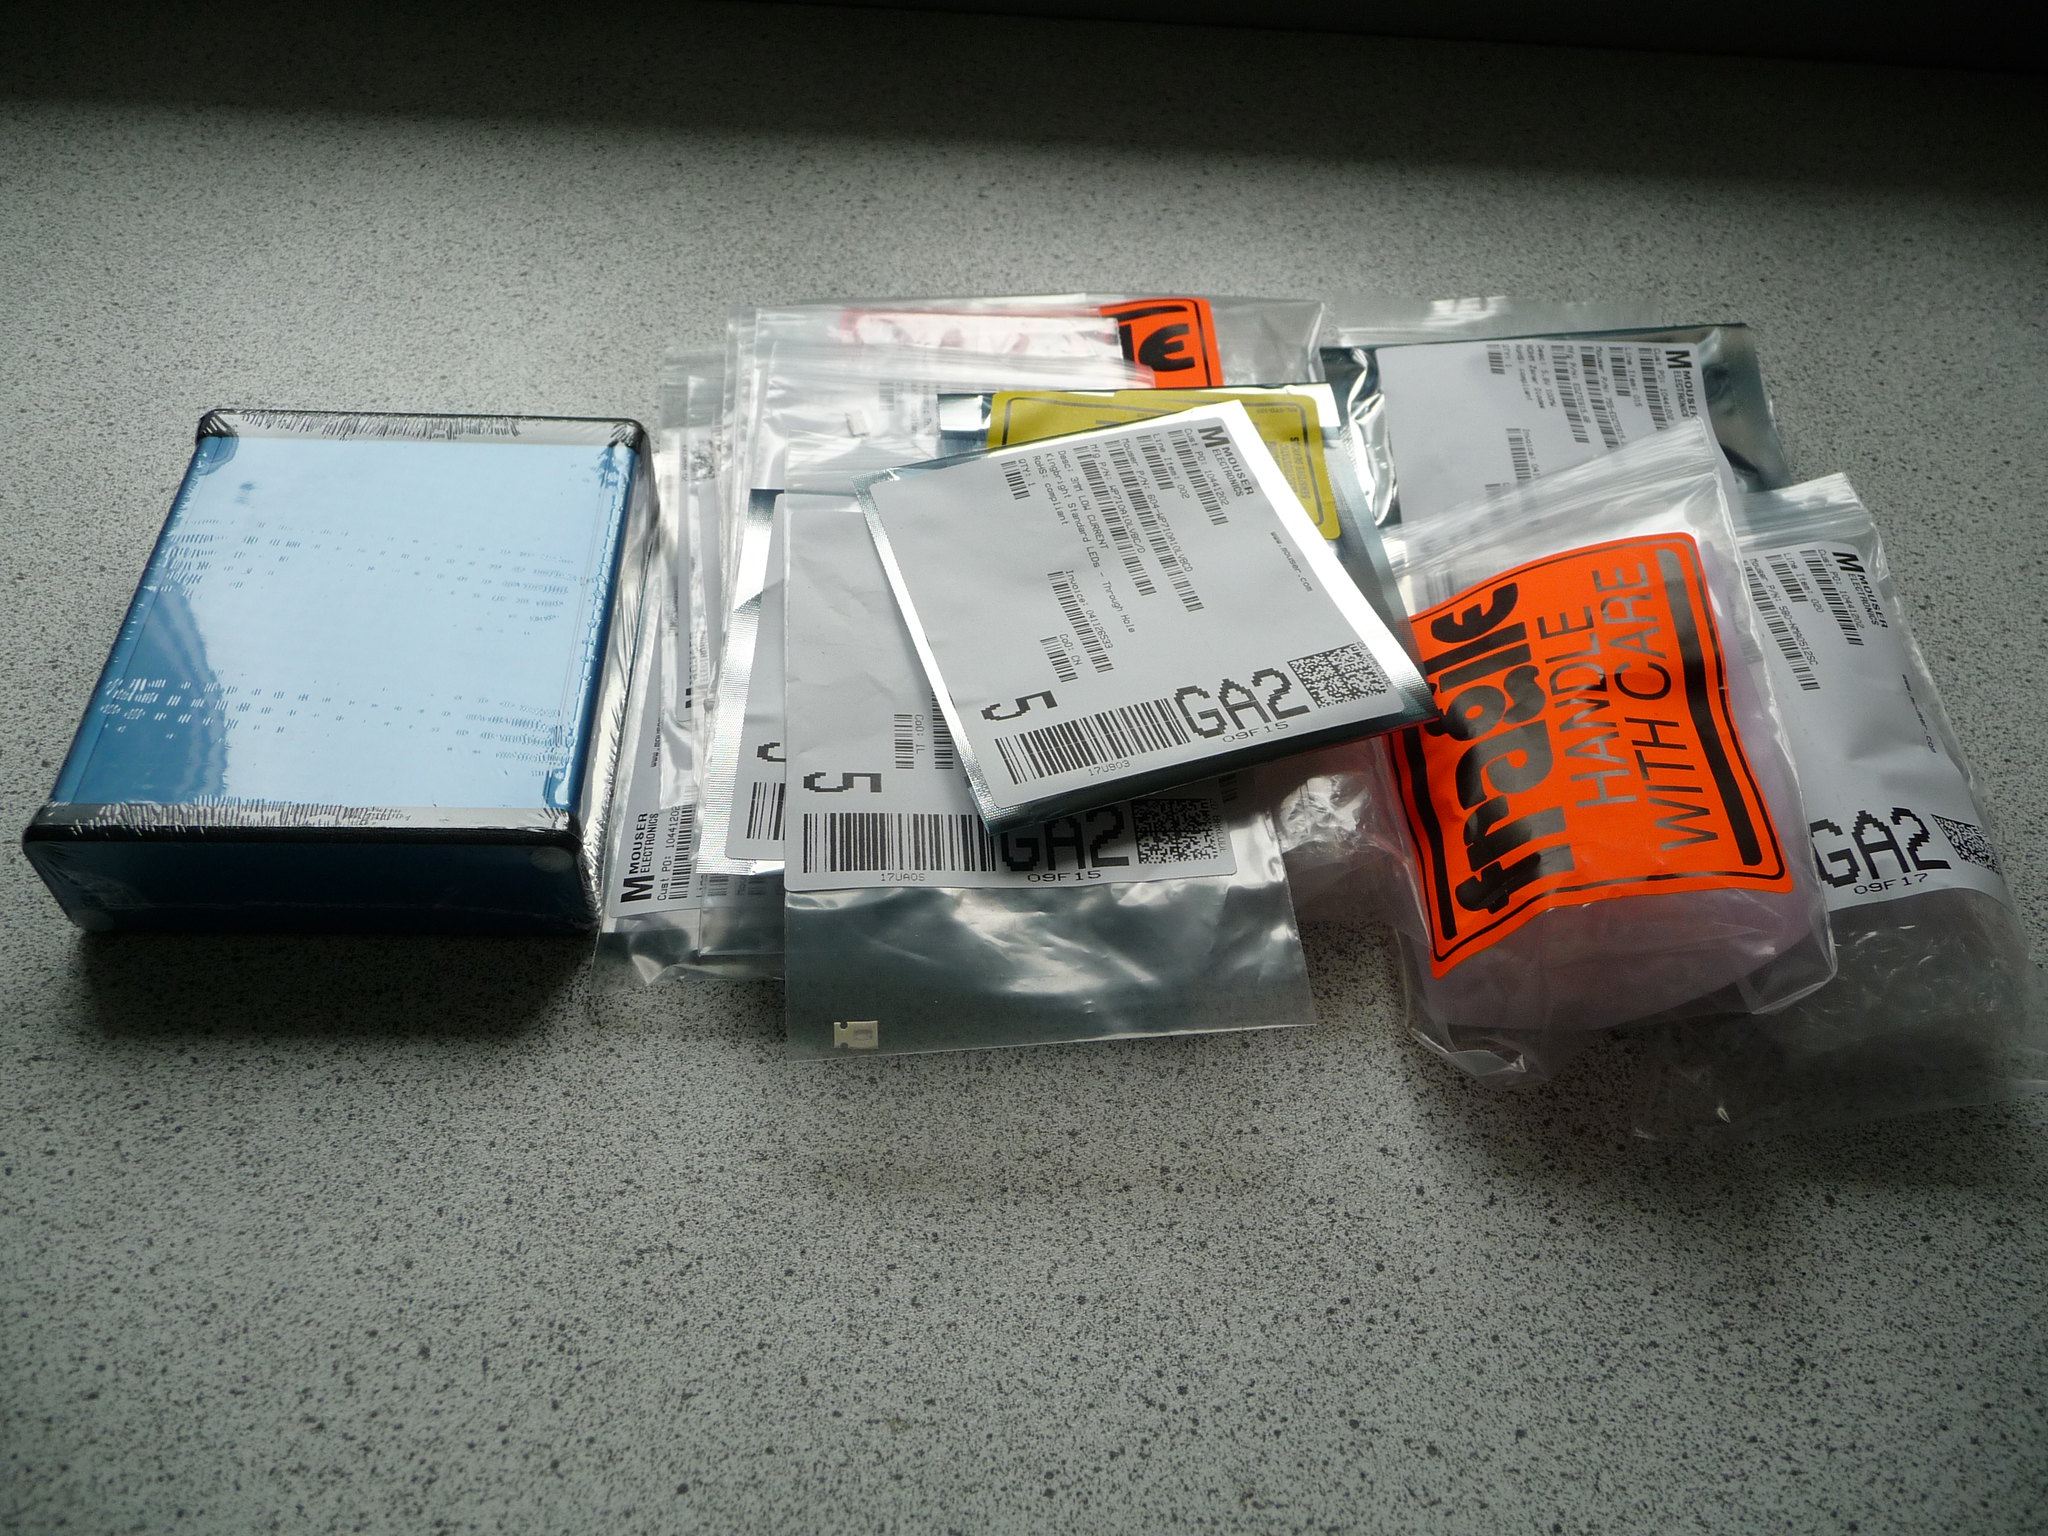 I had a bit of spare time yesterday and started work on modifying the enclosure - not much but it is a start. I have cut away the rear black plastic part to allow the top plate to slide rearwards for filter changes. 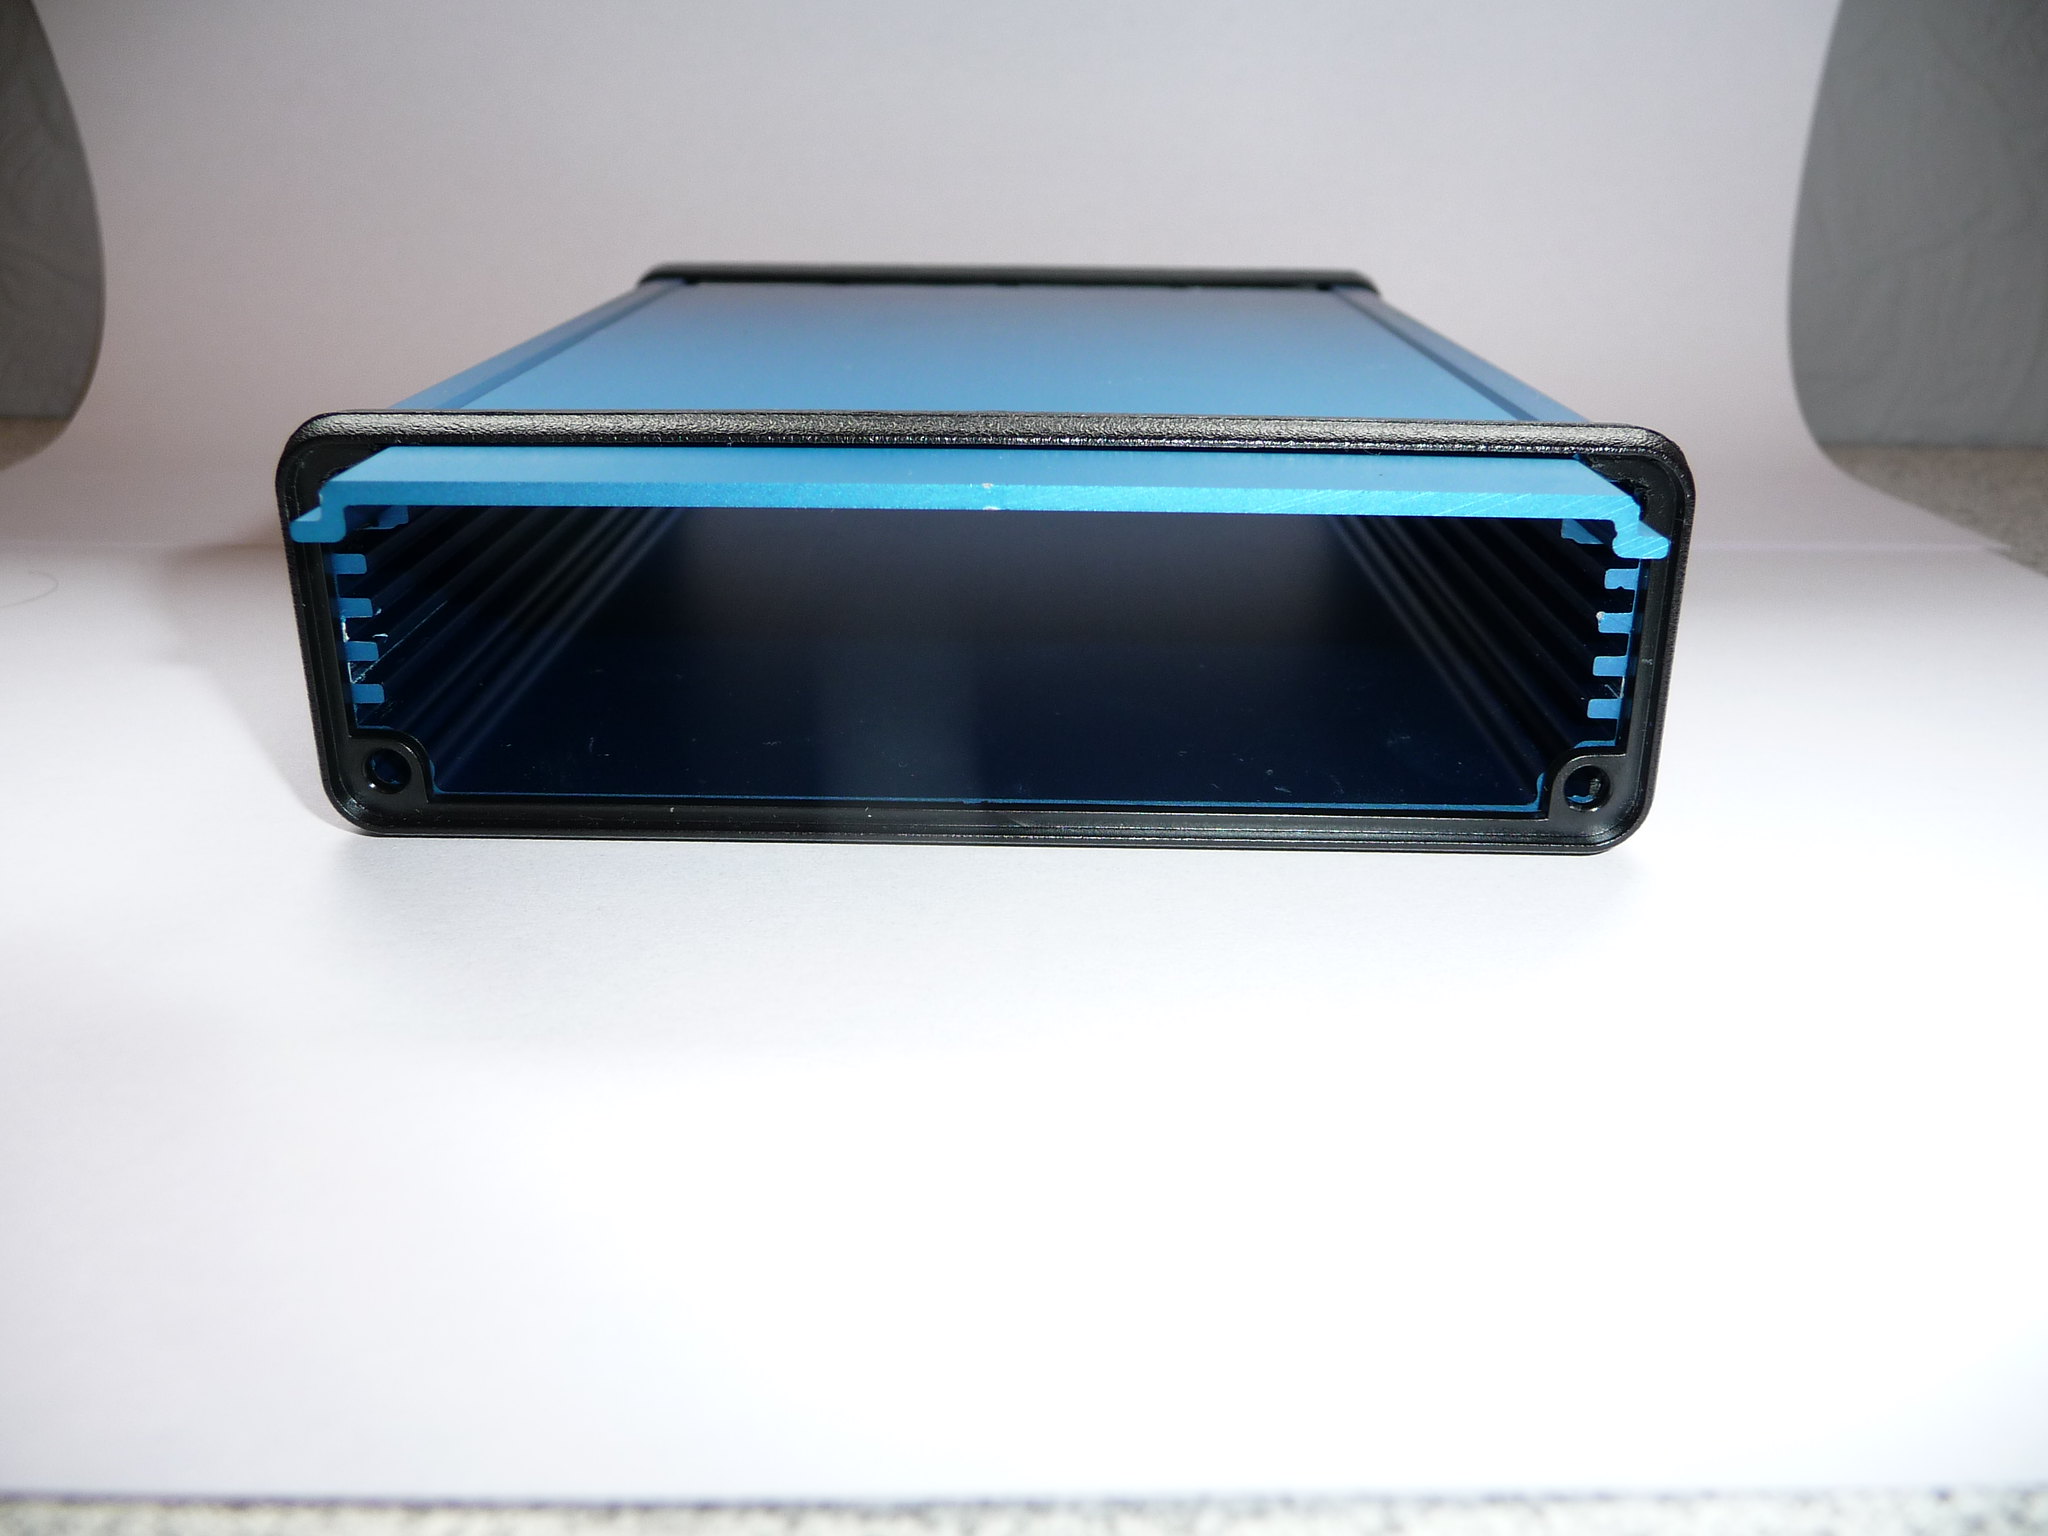 Next in line will be the metal back plate to also allow this movement. |
|
Rabbit
Administrator
Posts: 7,091
|
Post by Rabbit on Jun 14, 2016 8:27:17 GMT
Brave man!!!  |
|
Crispy
very active
Madrigal music is playing - Voices can faintly be heard, "Please leave this patient undisturbed."
Posts: 779 
|
Post by Crispy on Jun 14, 2016 14:21:00 GMT
Brave man!!!  Don't know about brave Ian - more like stupid  I had a bit more spare time today and did some more work on the case: The metal back plate has now been filed down so the top plate can slide in and out. 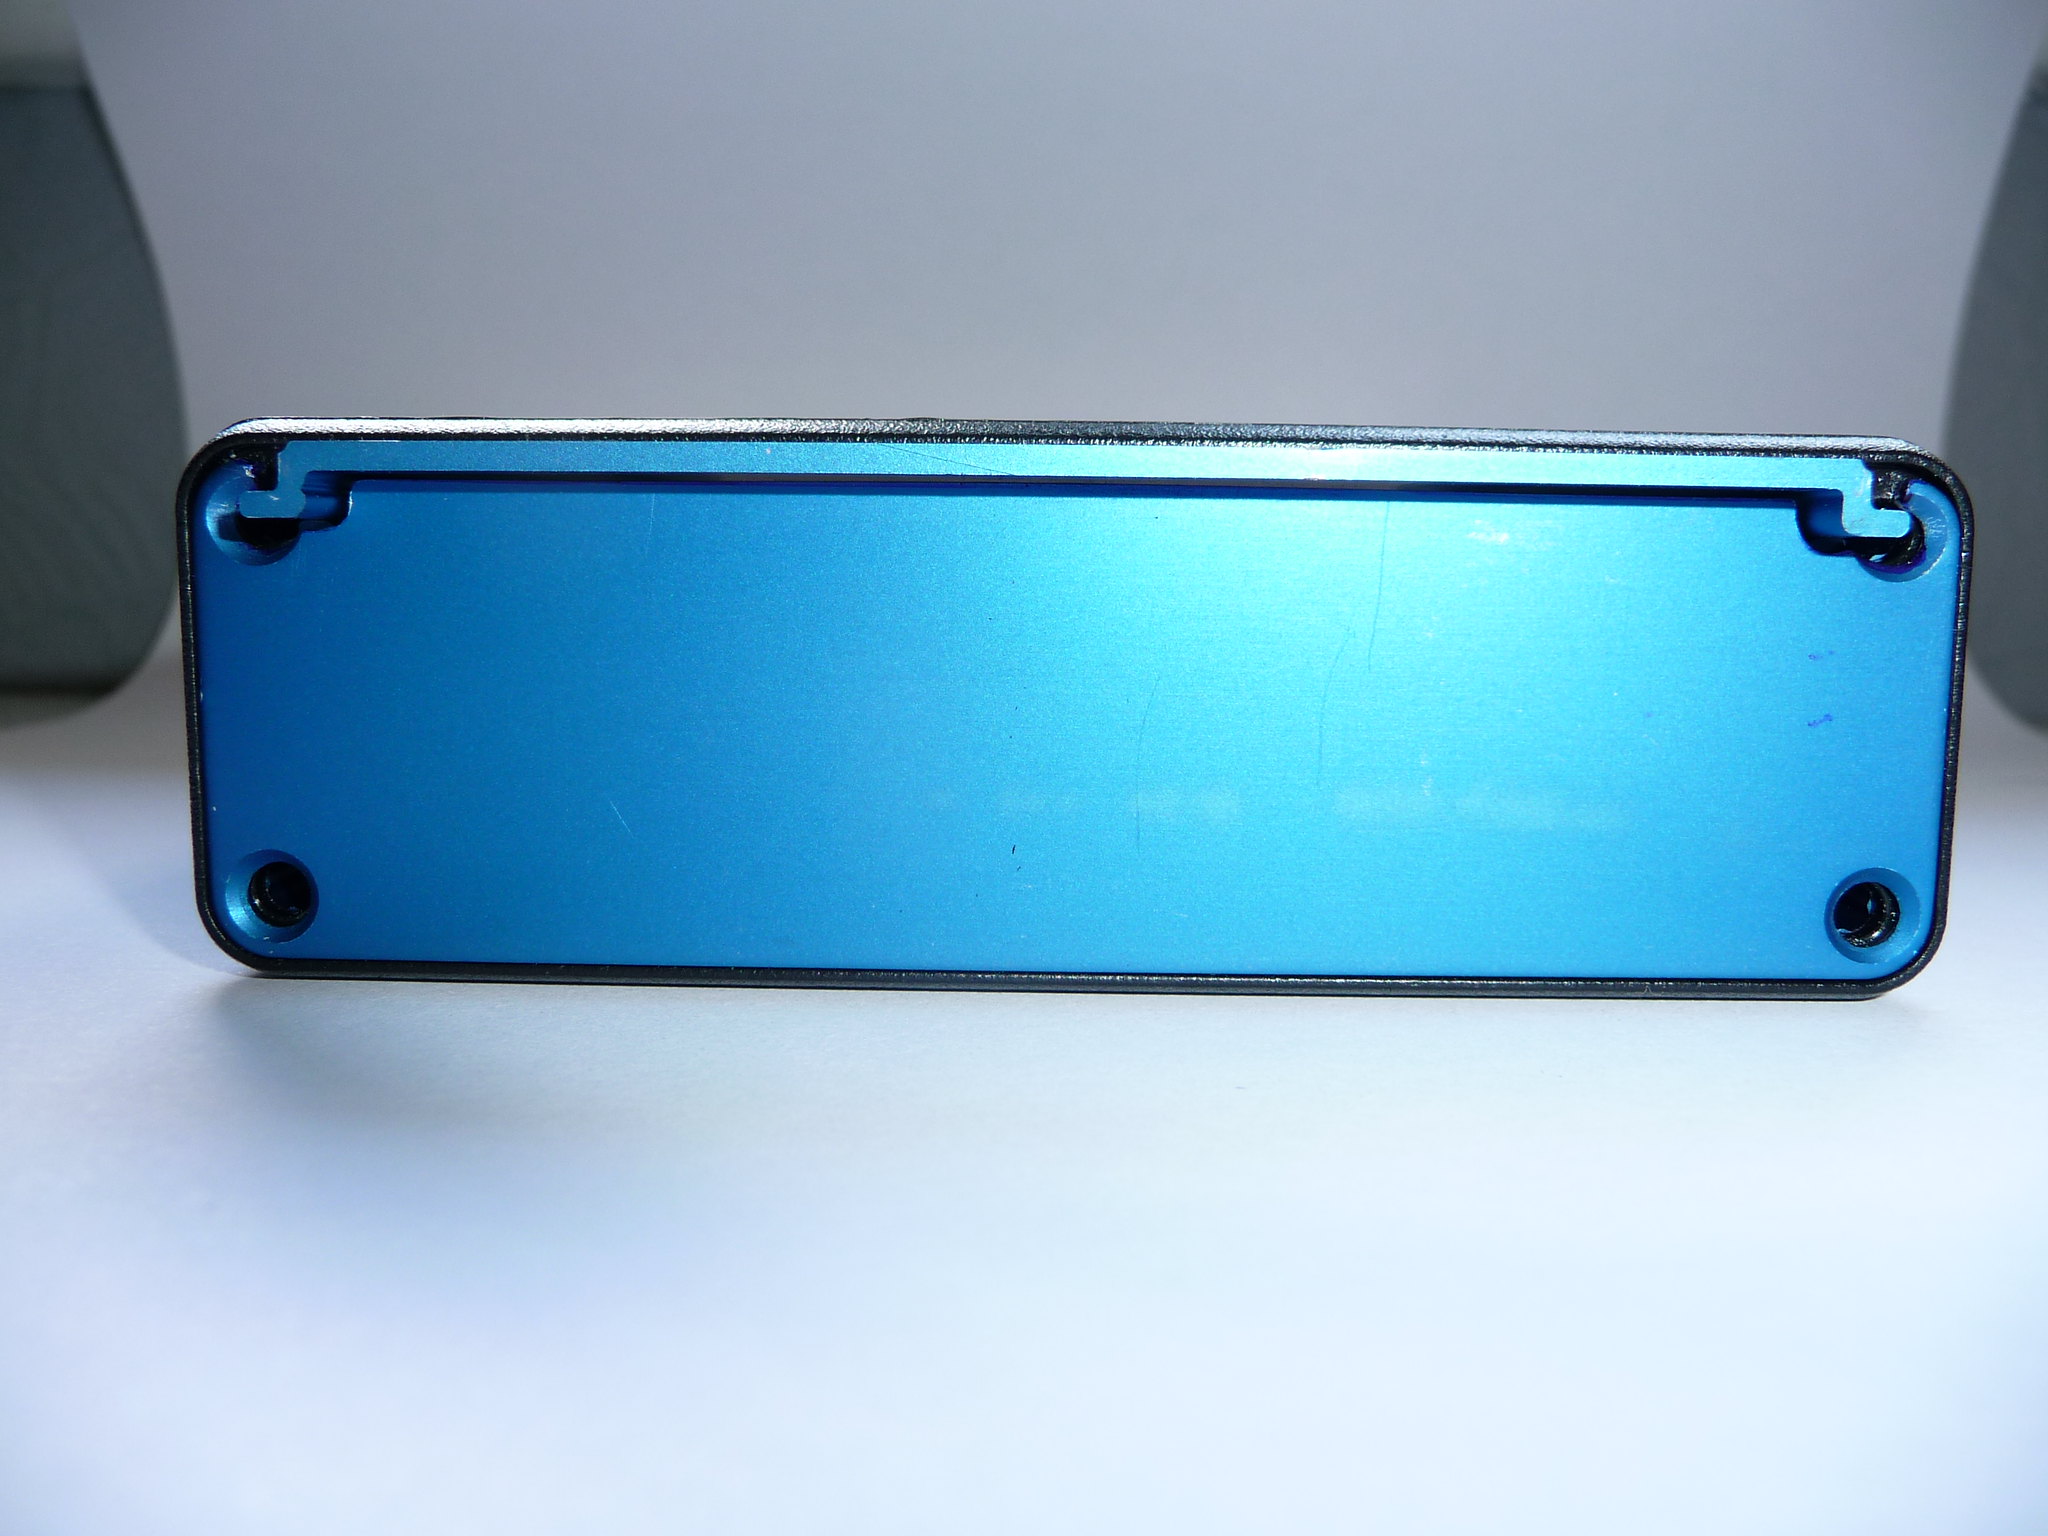 I have already spent about 3 hours or so just trimming down the rear black plastic and metal back plate  - I don't know how much a fully built Kameleon costs but I can already vouch that it must be worth it as this amp looks like it will be very labour intensive? Not sure what is next without looking in the manual but I think the top plate also needs a bit of trimming as well. |
|
solderdude
Administrator
measureutternutter
Posts: 4,886
|
Post by solderdude on Jun 14, 2016 14:44:42 GMT
Yep, the top plate also needs some trimming.
|
|
Crispy
very active
Madrigal music is playing - Voices can faintly be heard, "Please leave this patient undisturbed."
Posts: 779 
|
Post by Crispy on Jun 16, 2016 20:25:19 GMT
Yep, the top plate also needs some trimming. I had some spare time today and decided to do the top plate modification. After some thought I decided I did not need to file the back part of the top plate and only did the front - it only needs 5mm trimming: 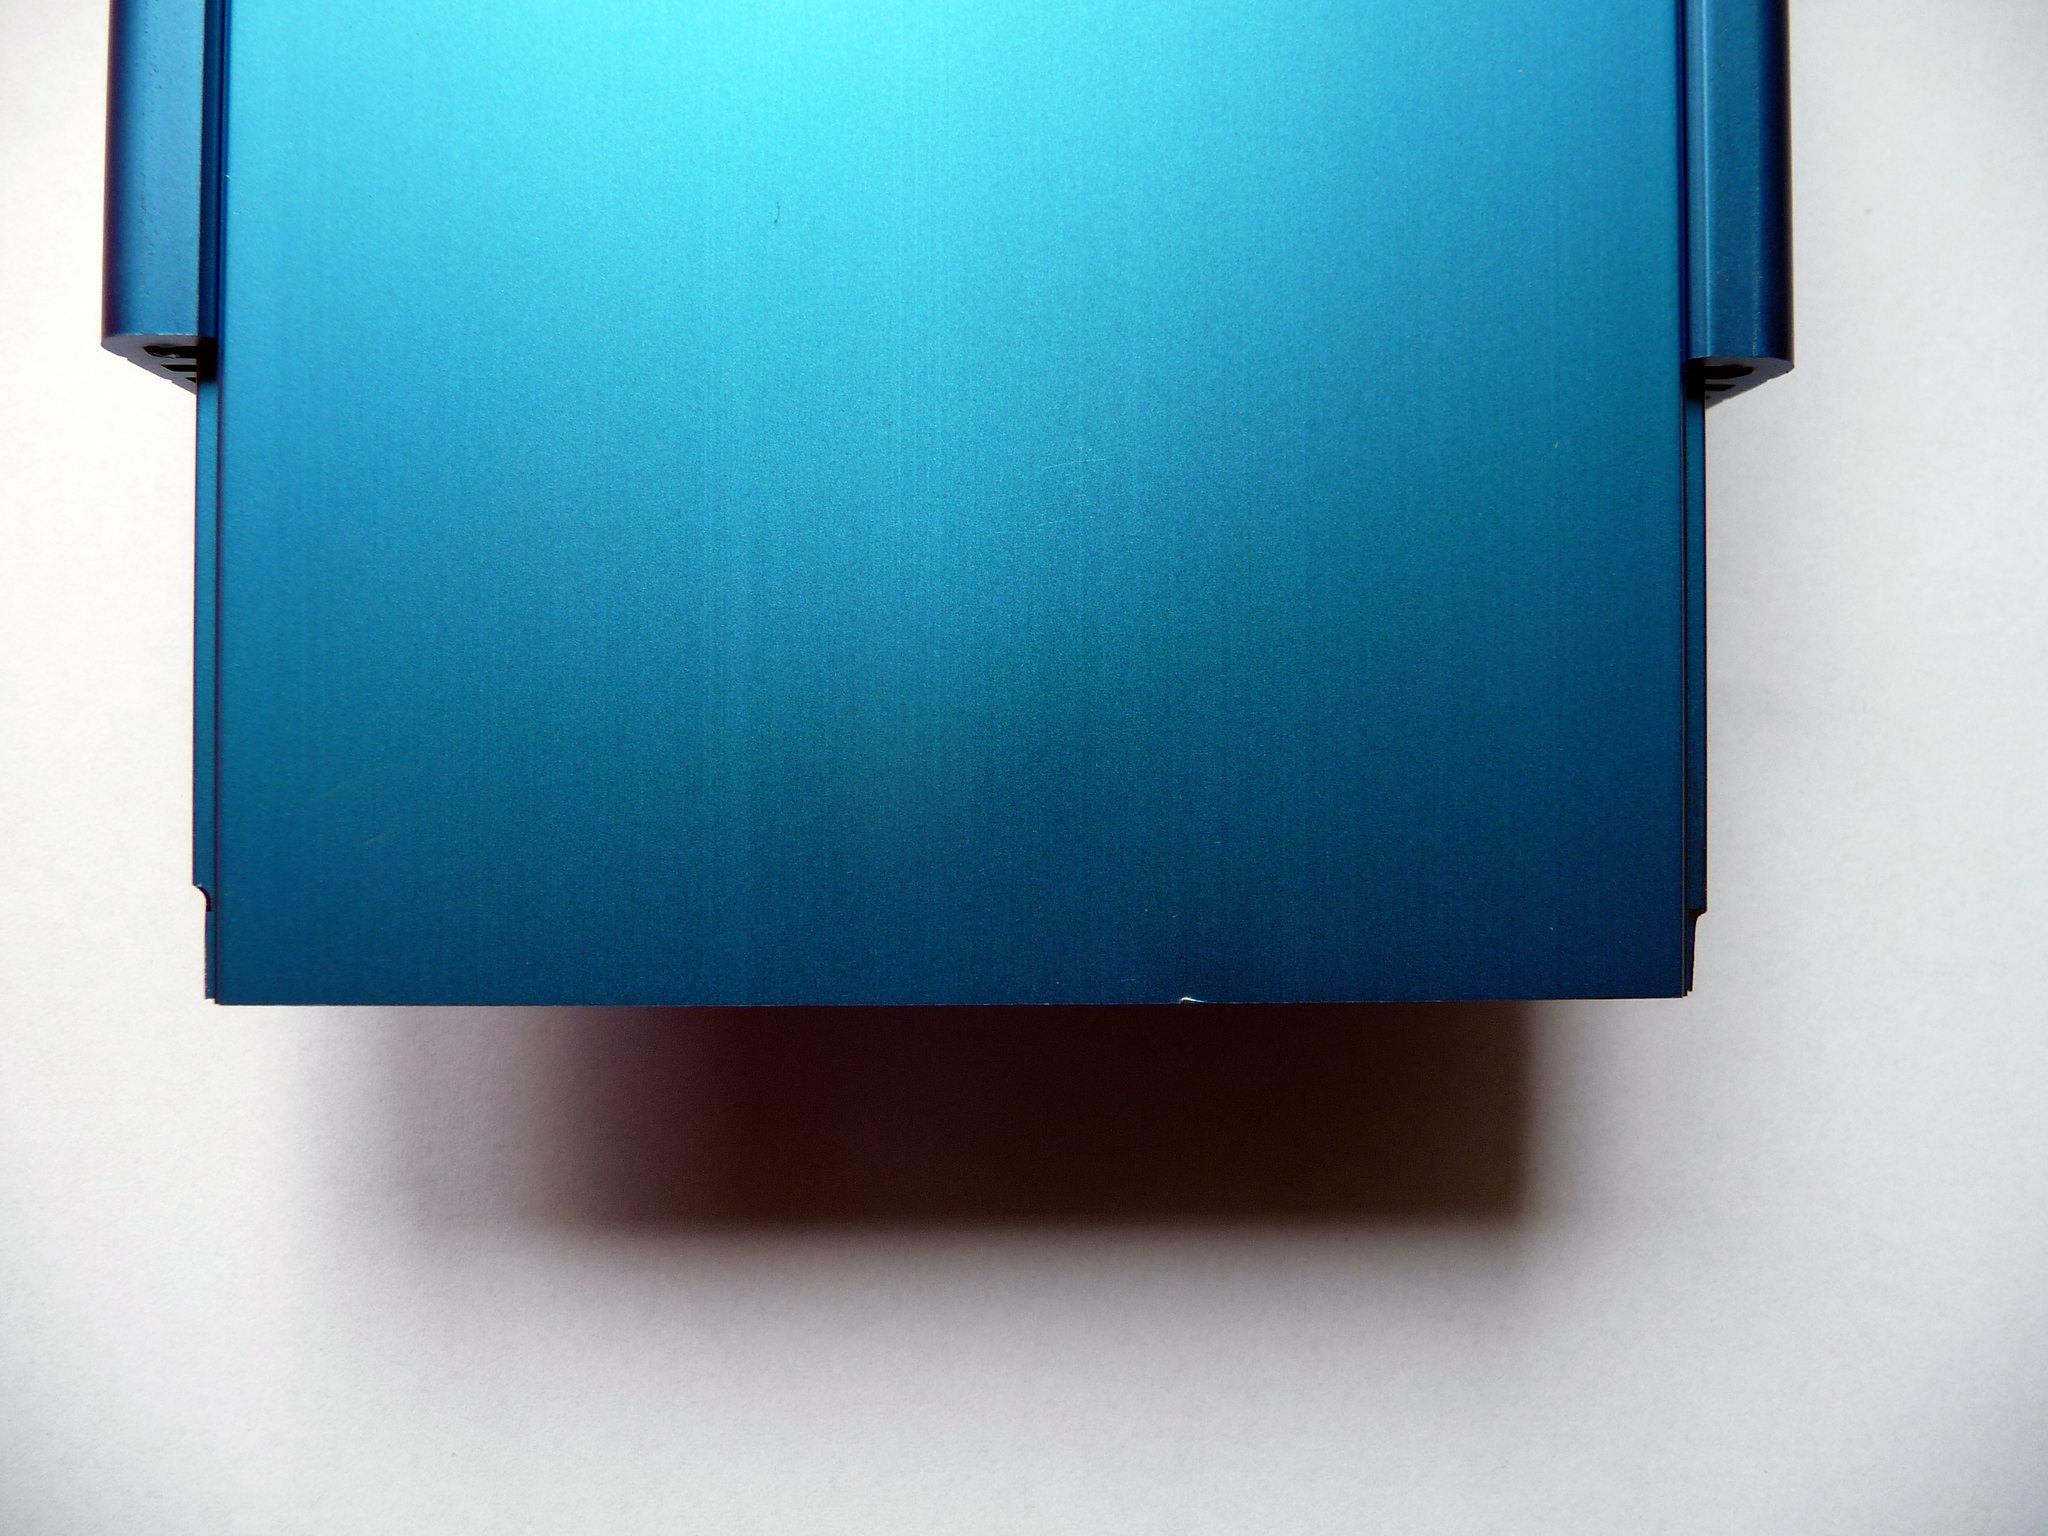 My reasoning was it only take about 10 seconds to undue the two top screws on the rear plate and the top will slide out the same, I then don't need to spend another hour in the garage filing  I also thought I am unlikely to take around with me separate filters and headphones whilst I am mobile. So any changes to filter and headphones would probably be done at home, it also removes the need to place a short piece of rubber on the plastic part to stop it sliding open when picked up and held at an angle. I also made a make shift Rear plate to see how my arrangement of the power socket, charging LED, switch and 3.5 input socket would look like - and also to see if there was physically enough room: Result below, hope you like my logo  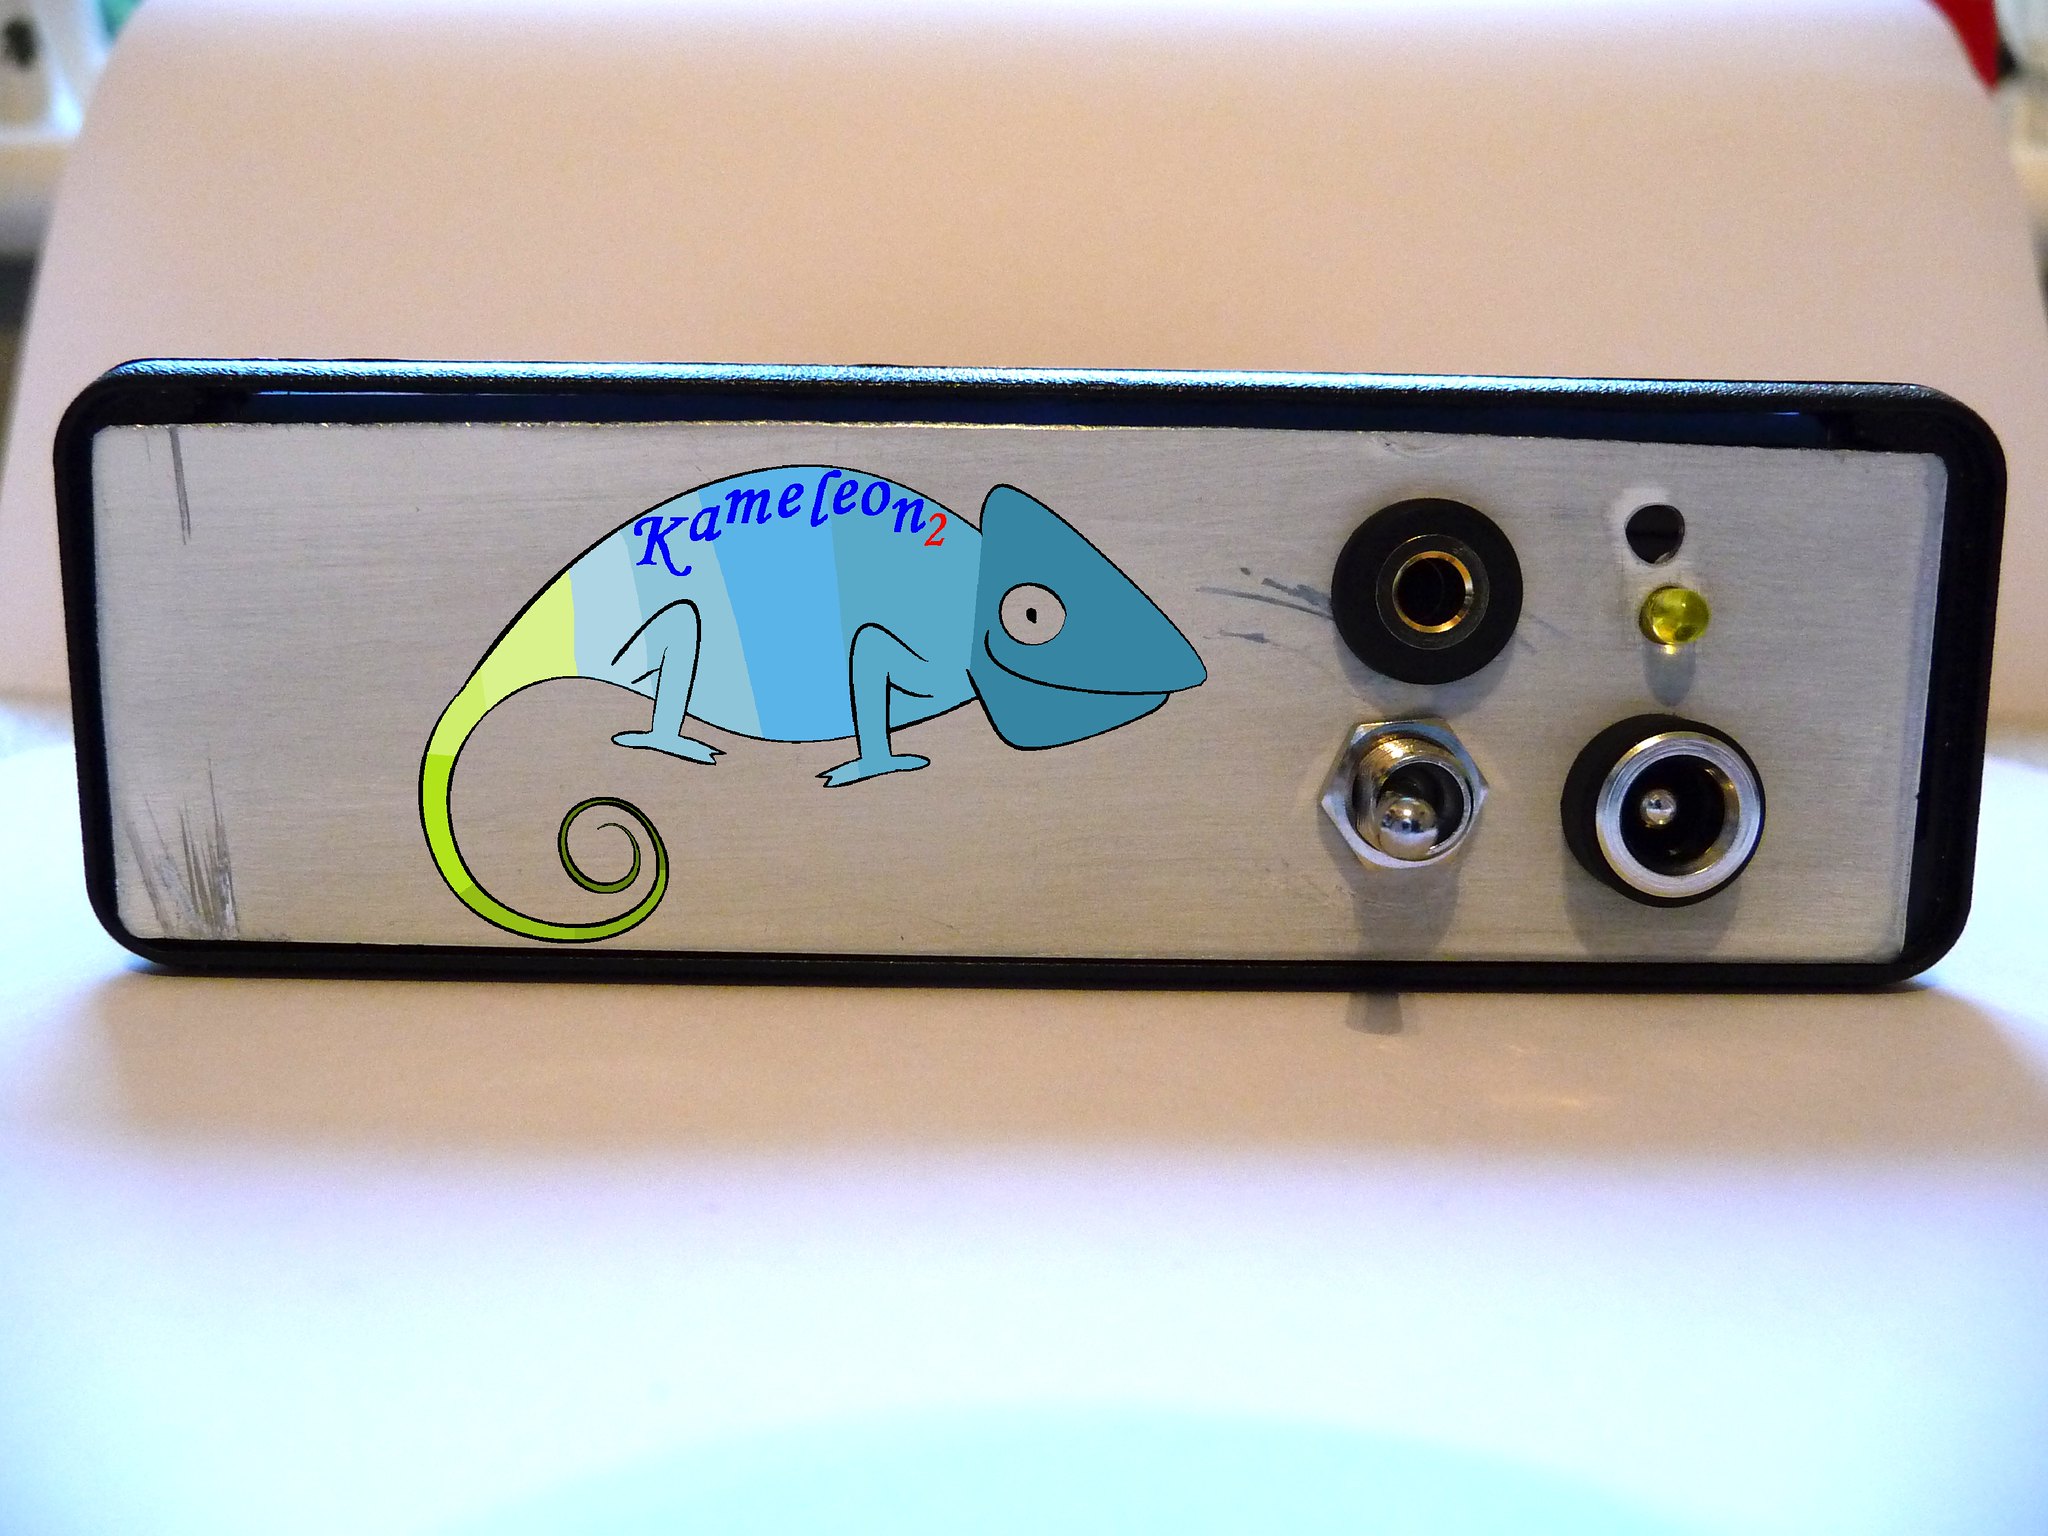 As you can see I blobbed with the LED hole - good job it was a practice run  |
|
solderdude
Administrator
measureutternutter
Posts: 4,886
|
Post by solderdude on Jun 16, 2016 21:26:30 GMT
I have the input socket and power switch on the front but in the back is also possible.
This only leaves the volume control and output socket on the front as well as the 2 LED's.
|
|
z3d
quite active
Posts: 170 
|
Post by z3d on Jun 17, 2016 8:29:10 GMT
Nice logo  |
|
Rabbit
Administrator
Posts: 7,091
|
Post by Rabbit on Jun 17, 2016 8:36:52 GMT
Chris, that looks REALLY good. Love that logo as well.
|
|
|
|
Post by tunkejazz on Jun 17, 2016 21:00:21 GMT
Any trouble soldering the smallest components?
The logo looks terrific :-)
|
|
Crispy
very active
Madrigal music is playing - Voices can faintly be heard, "Please leave this patient undisturbed."
Posts: 779 
|
Post by Crispy on Jun 18, 2016 10:37:04 GMT
Any trouble soldering the smallest components? The logo looks terrific :-) Thanks for the comments on the logo everybody, whether I actually get around to putting it on for real is a different question? it is easy to cut and past on a computer but totally different to put it on the real thing. I haven't got around to doing any soldering yet and concentrating on the casework and placement of switches etc, but I will keep you informed when I start. |
|
sekar
quite active
Posts: 161 
|
Post by sekar on Jun 18, 2016 17:38:07 GMT
Hi, Chris . It's new interesting project. You may use high speed rotary tool like Dremel ( as most expensive ) to cut holes/slots in your alu case or totally change it's shape  . There are a lot of different accessories for different tasks. I forgot about tinkering with different files since i began to work with a mini drill. |
|
Crispy
very active
Madrigal music is playing - Voices can faintly be heard, "Please leave this patient undisturbed."
Posts: 779 
|
Post by Crispy on Jun 18, 2016 18:50:50 GMT
Hi, Chris . It's new interesting project. You may use high speed rotary tool like Dremel ( as most expensive ) to cut holes/slots in your alu case or totally change it's shape  . There are a lot of different accessories for different tasks. I forgot about tinkering with different files since i began to work with a mini drill. Hi Sergey, yes it is definitely an interesting project (thanks to Frans) - so when are we going to see your version?  I have a rotary tool similar to the Dremel but I never use it. I prefer to use a hand file and gently remove a little bit at a time, experience has taught me that you can always file a little bit more off but you cannot add a little bit back on  When I use a power tool I nearly always take off too much. |
|
Crispy
very active
Madrigal music is playing - Voices can faintly be heard, "Please leave this patient undisturbed."
Posts: 779 
|
Post by Crispy on Jun 18, 2016 19:02:19 GMT
Just a couple of questions Frans: 1. Where in the case do you place the PCB board? I have it in the second slot from the bottom (RED arrow) but I placed a capacitor in C13 on the board and thought their is not much room to the top plate. I then wondered if the PCB should be placed in the bottom slot (YELLOW arrow. 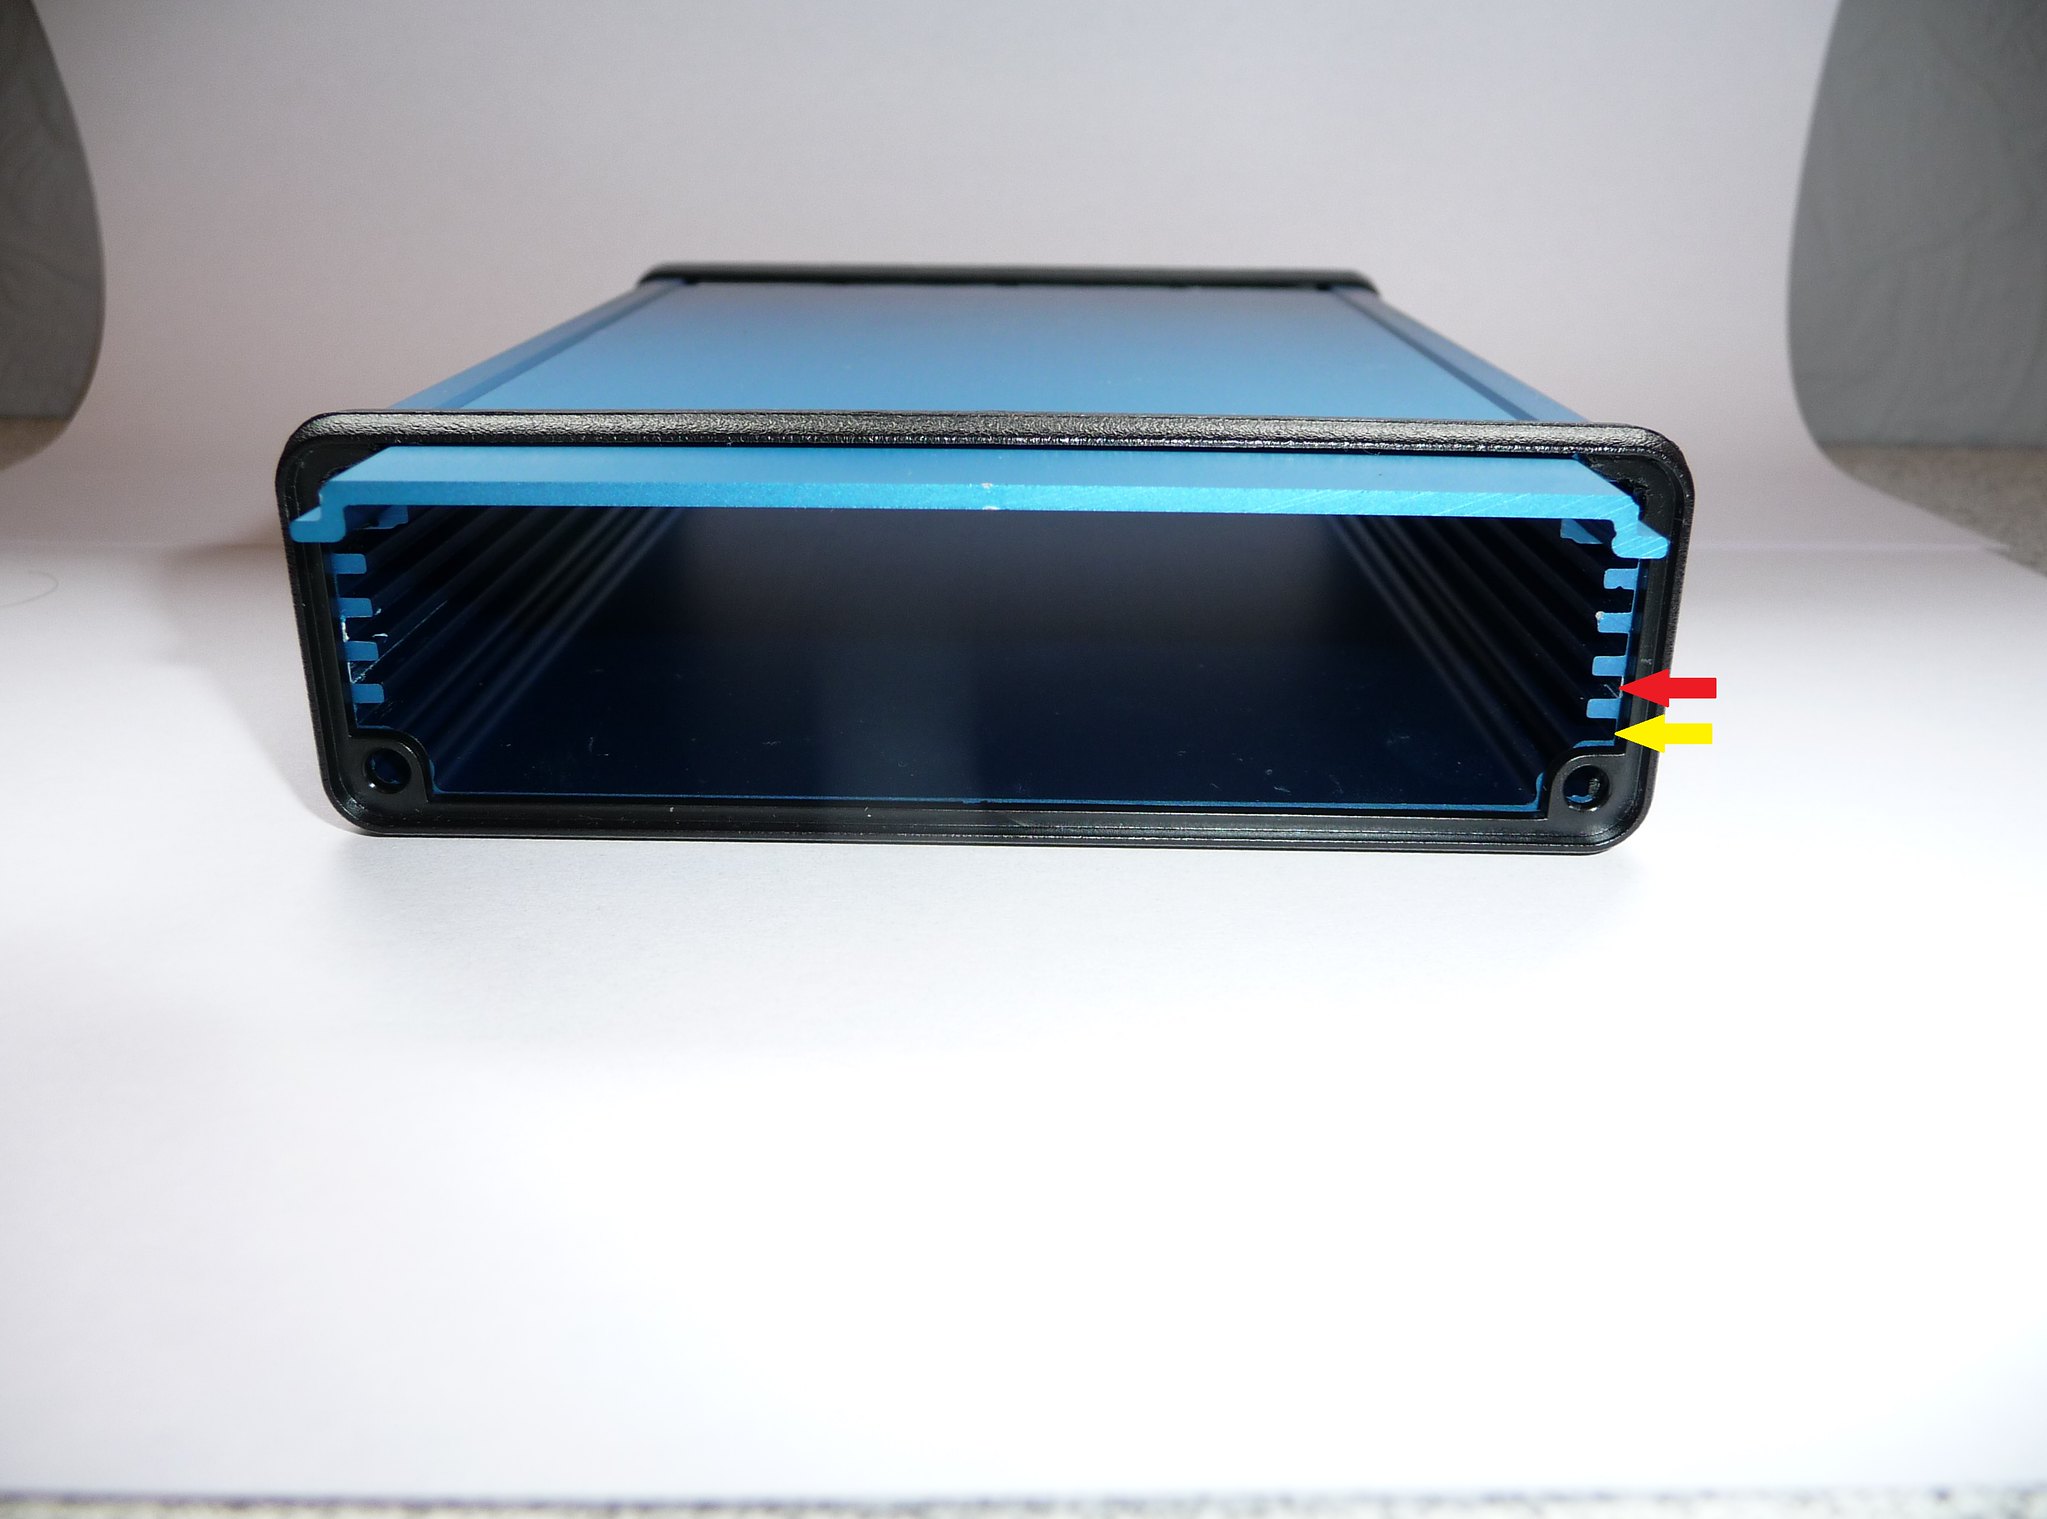 2. The Samsung phone charger I am using says 5V but does not say if it is AC or DC? I am guessing it is DC and is DC correct for this amp? I have swapped the Micro USB connector for the 2.5mm connector: Before 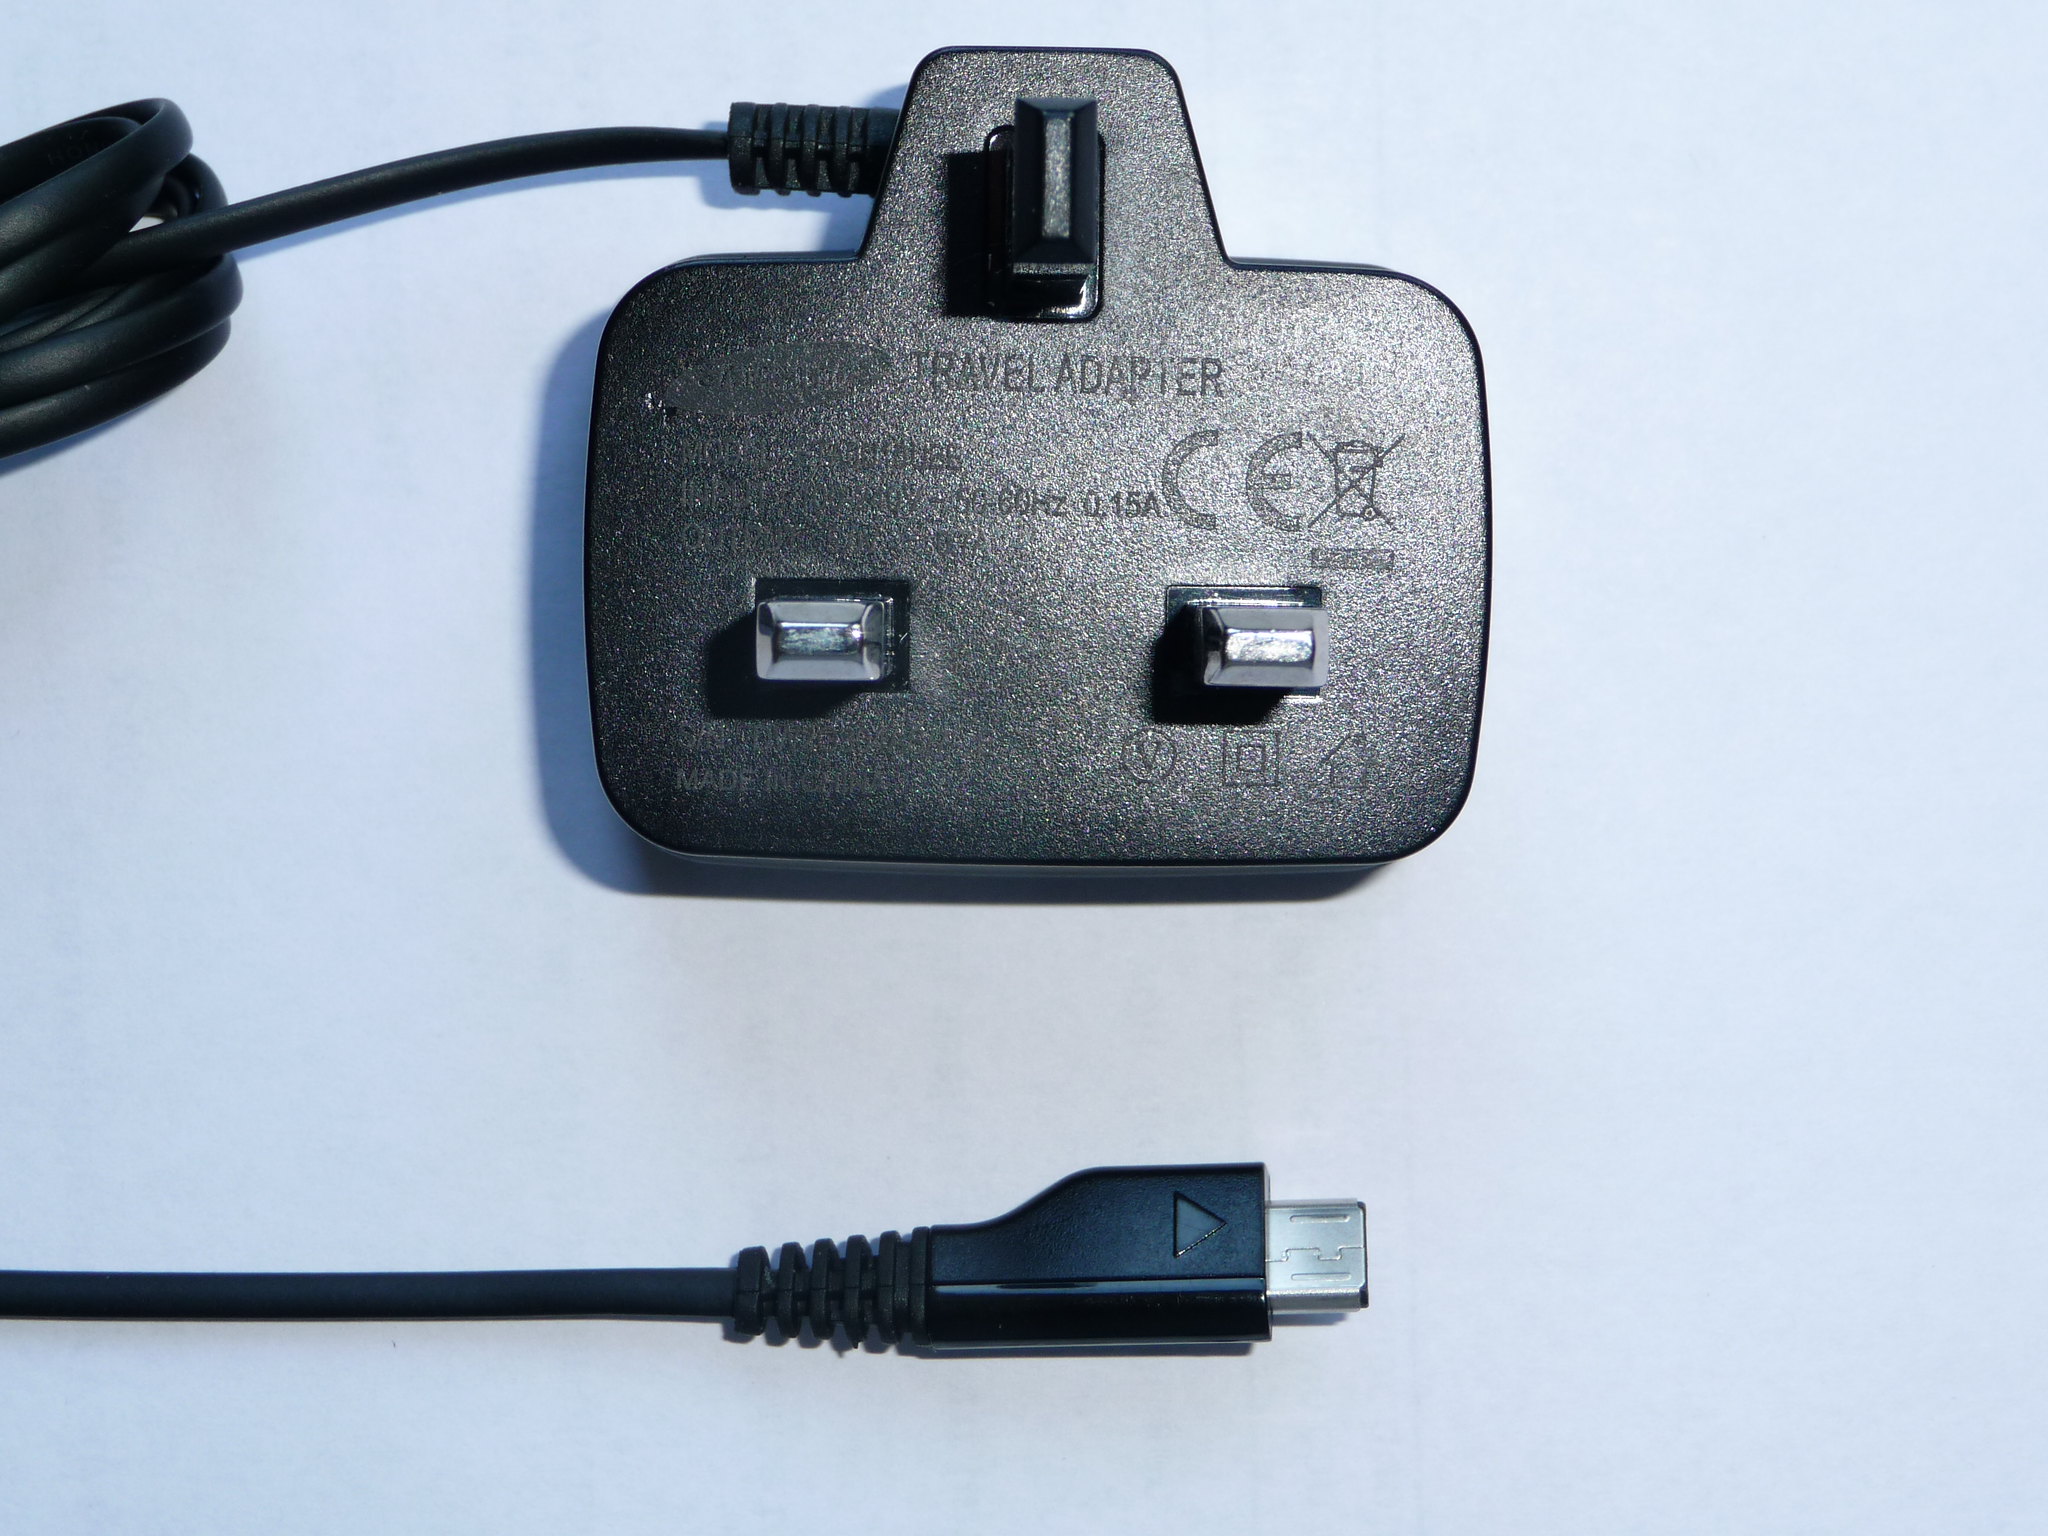 After 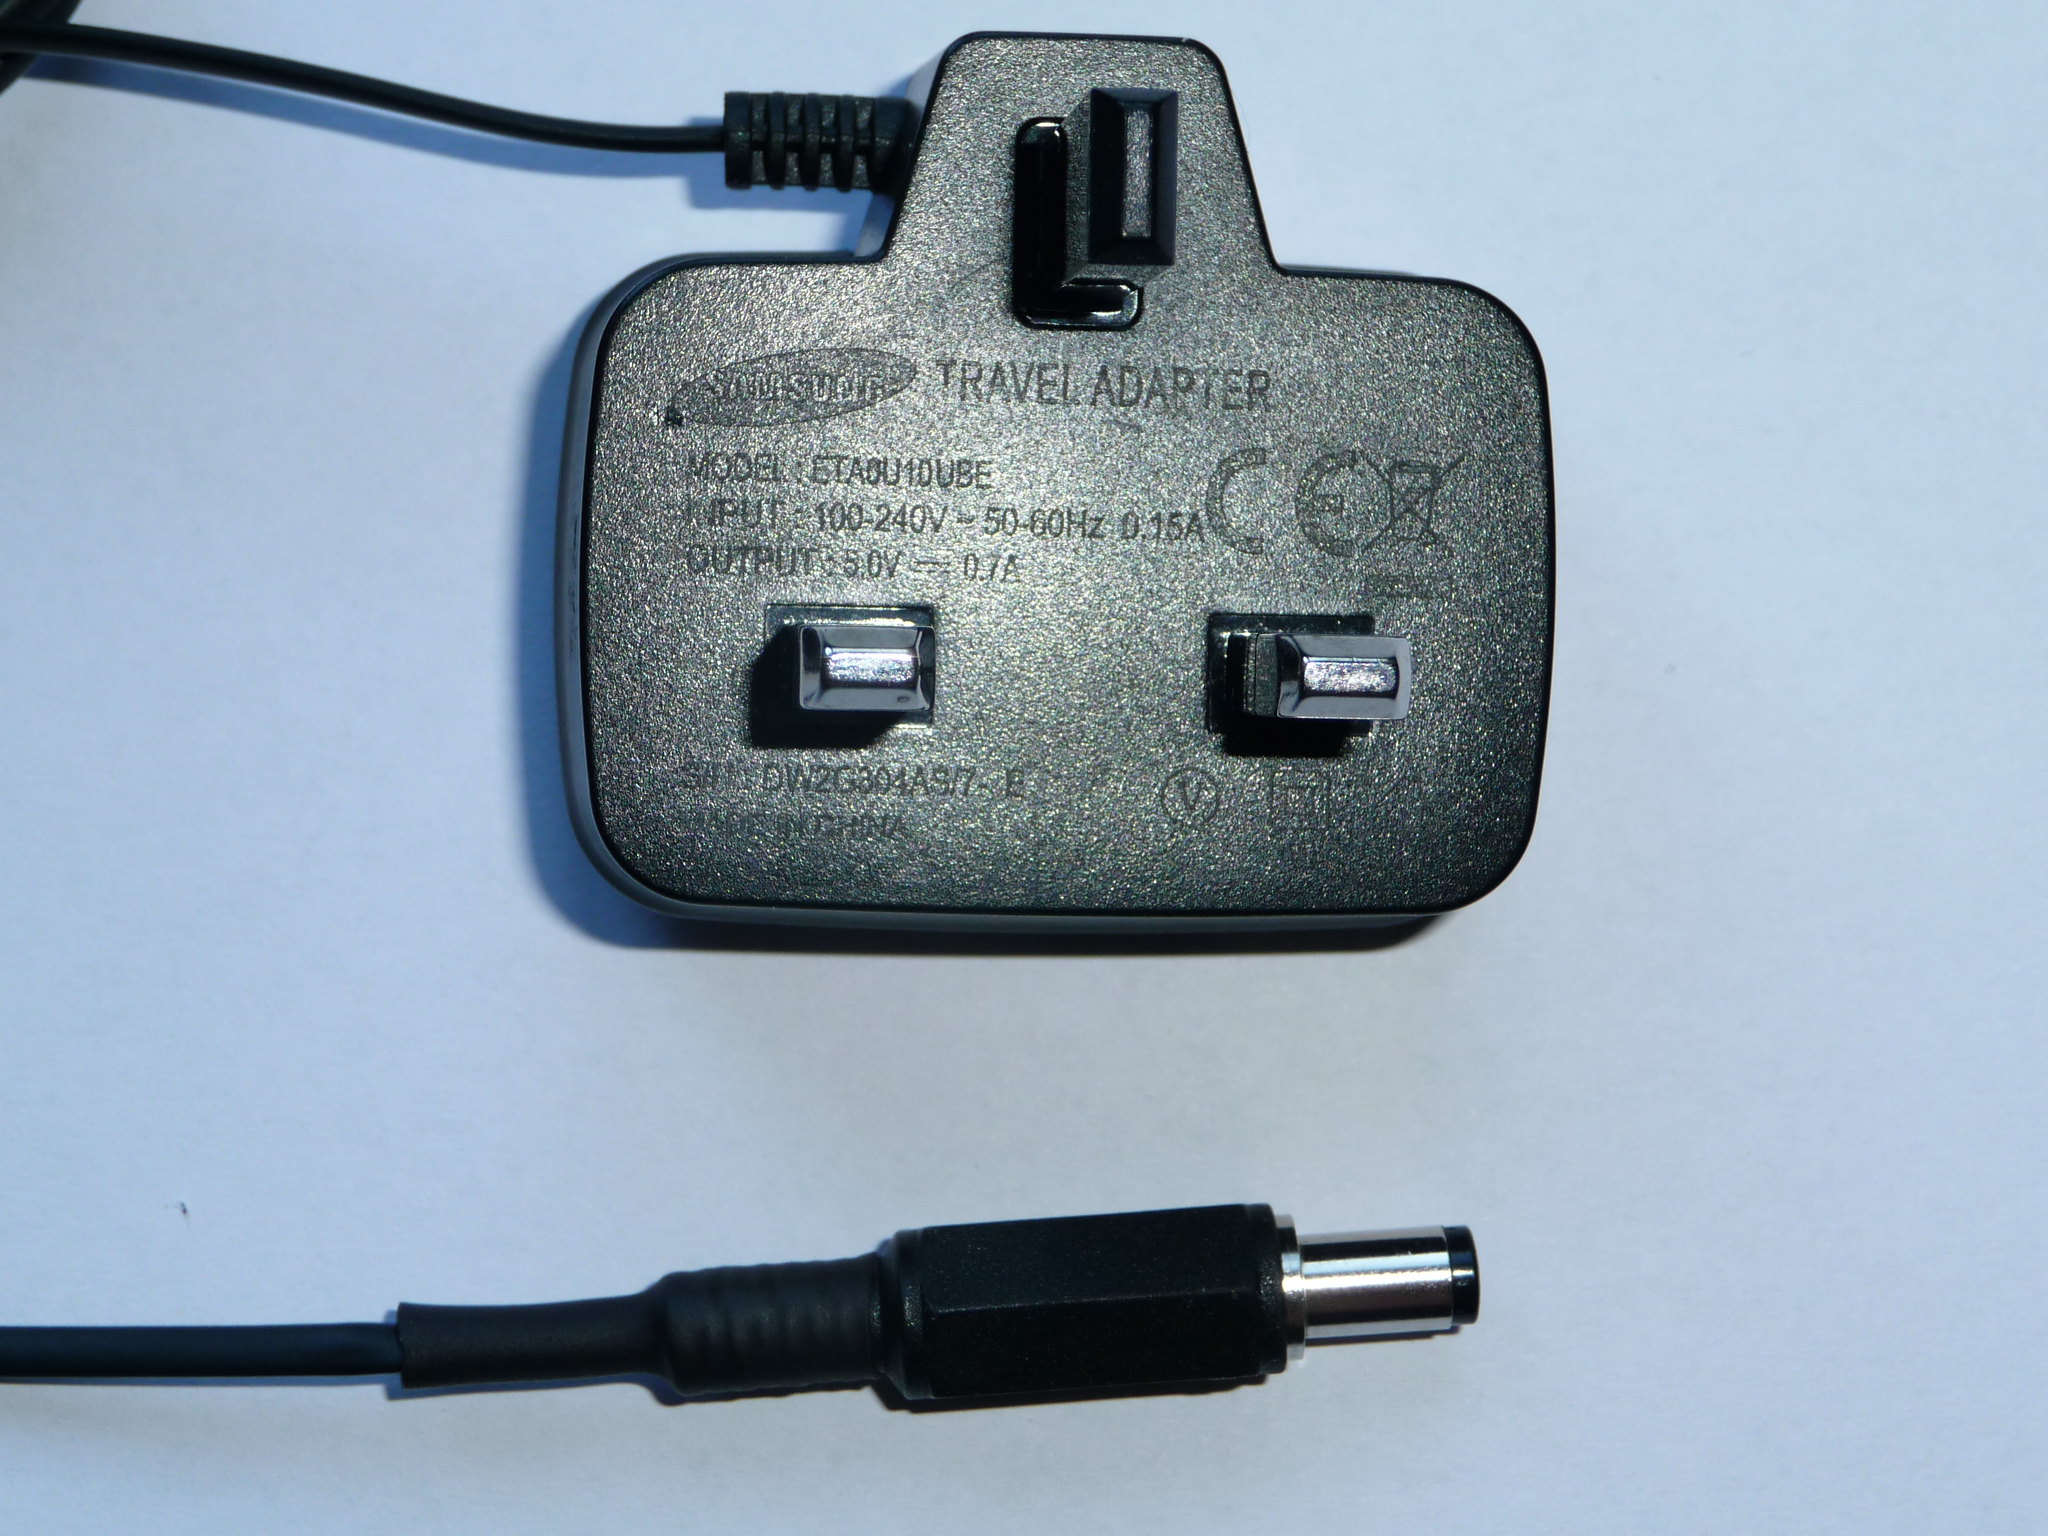 |
|
Crispy
very active
Madrigal music is playing - Voices can faintly be heard, "Please leave this patient undisturbed."
Posts: 779 
|
Post by Crispy on Jun 18, 2016 19:06:21 GMT
I have done the work on the Rear back plate and I think I am now happy with the result: Case closed: 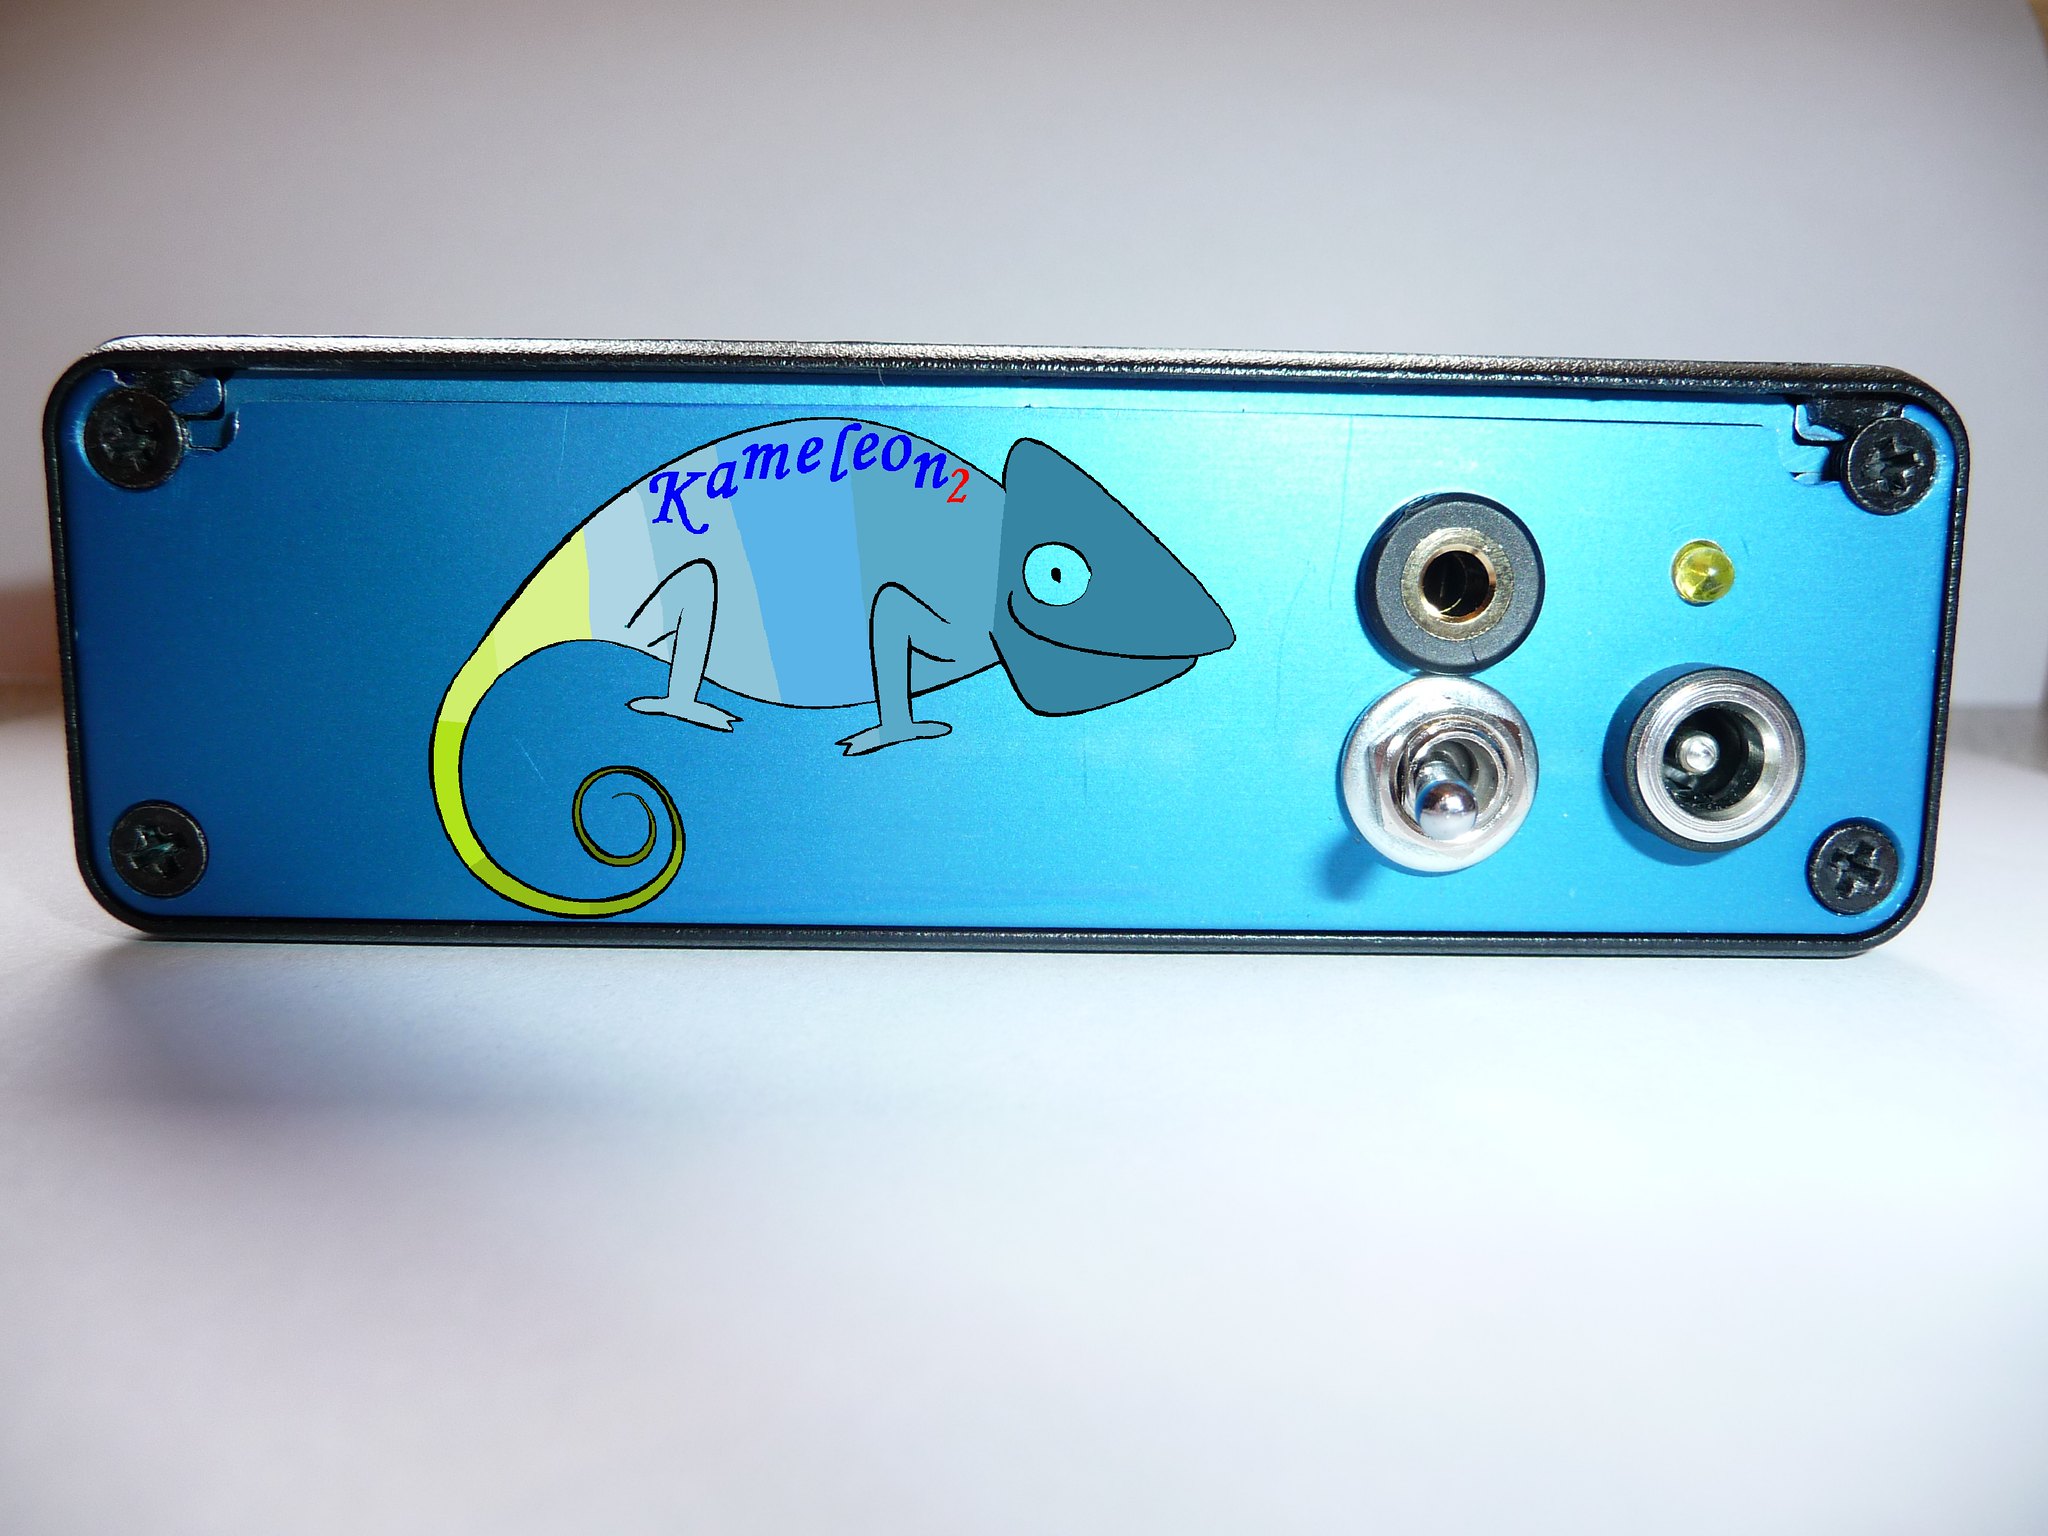 10 seconds later - two top screws removed and case open. 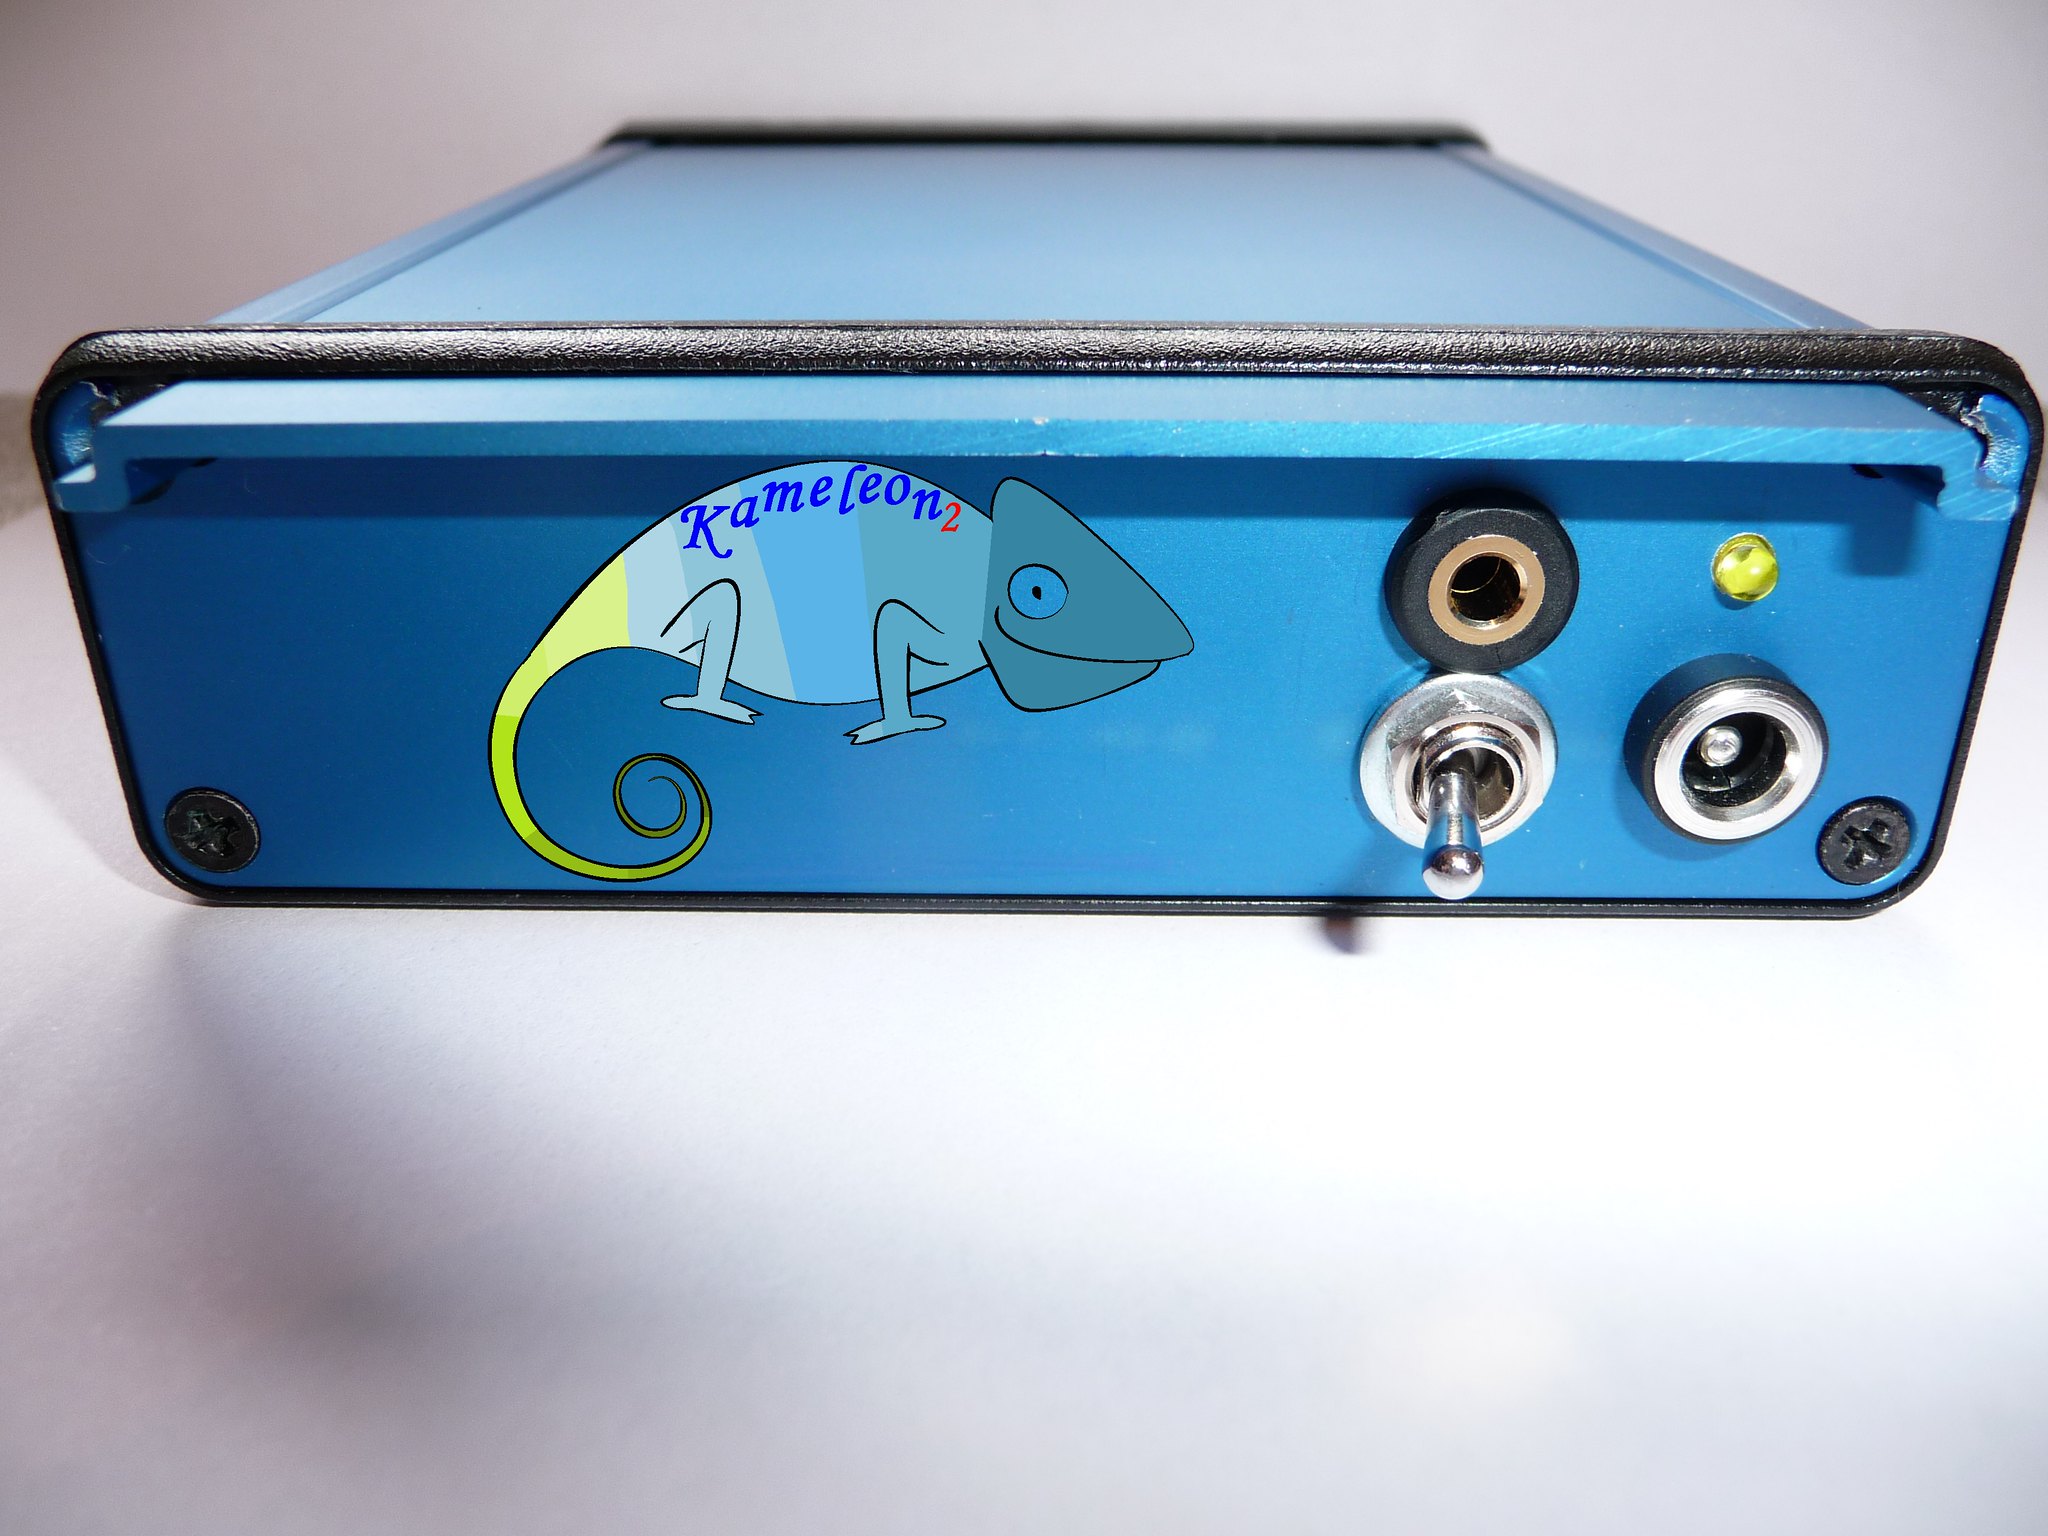 |
|
solderdude
Administrator
measureutternutter
Posts: 4,886
|
Post by solderdude on Jun 18, 2016 22:22:26 GMT
Yes, the bottom slot (yellow arrow).
I didn't make that very clear in the manual... will take some pictures and add them later on in the manual.
The adapter is DC for sure.
The stripe over the 3 dots is the symbol for DC (indicating the 0V line, the dots, and the continuous DC voltage, the line, above it)
This symbol is shown between the 5.0V and 0.7A markings.
When you file down the sides of the top plate as in the manual (middle of page 9) you can open the lid with the screws in place.
These screws also ensure the top lid only slides out as far as it has to in order to change the filter.
The metal work is the hardest part (also making the holes of the front plate on the exact positions.
You can smuggle a bit on the volpot hole and the 6.3 mm output jack hole as they are covered by a large nut and the volpot knob.
You do need to line up the LED holes neatly when they are positioned closely together.
|
|